Search
Close this search box.
Colonizing mushroom grain spawn jars from grain to grain transfer

Mushroom Grain To Grain Transfer

Table of Contents

What Is A Grain To Grain Transfer

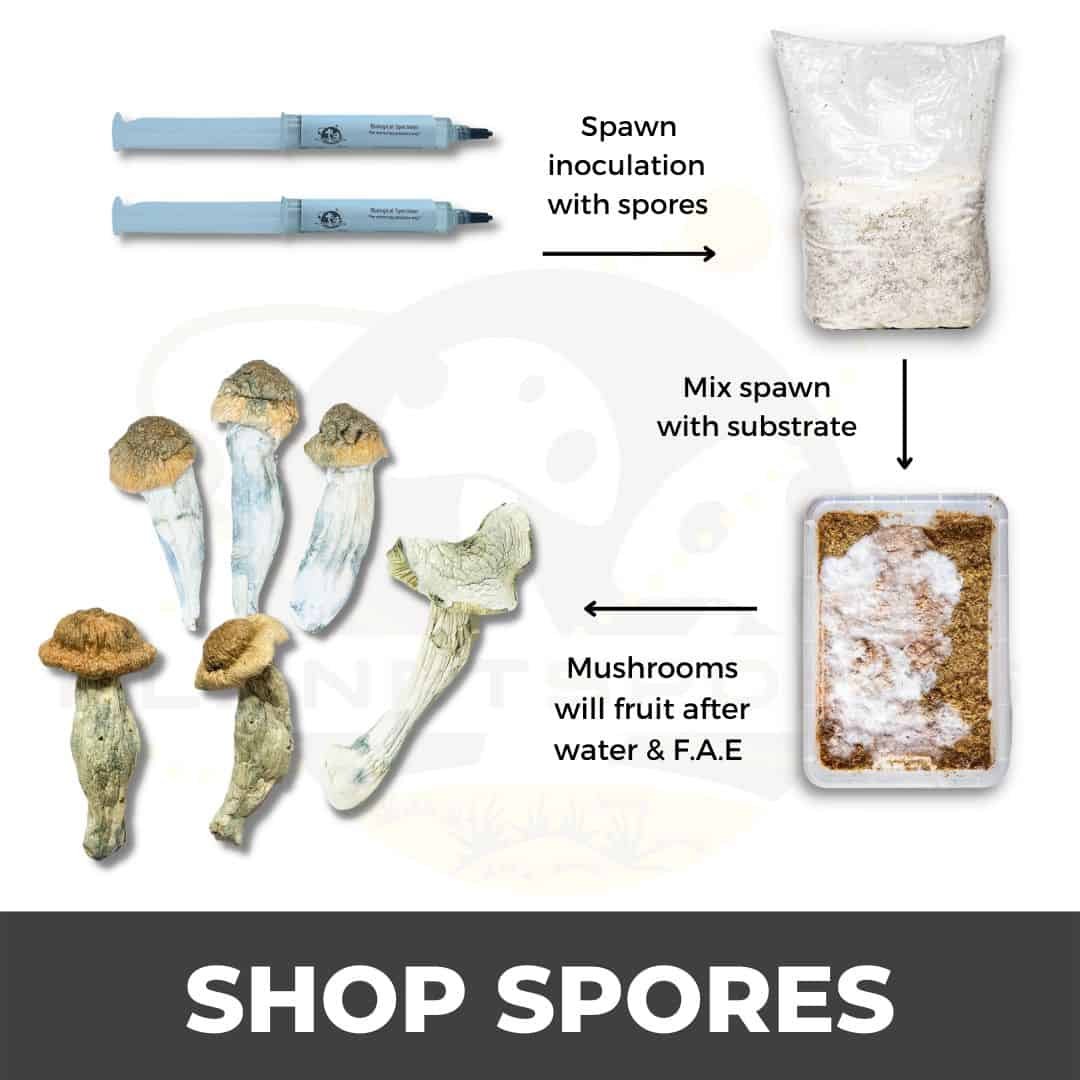
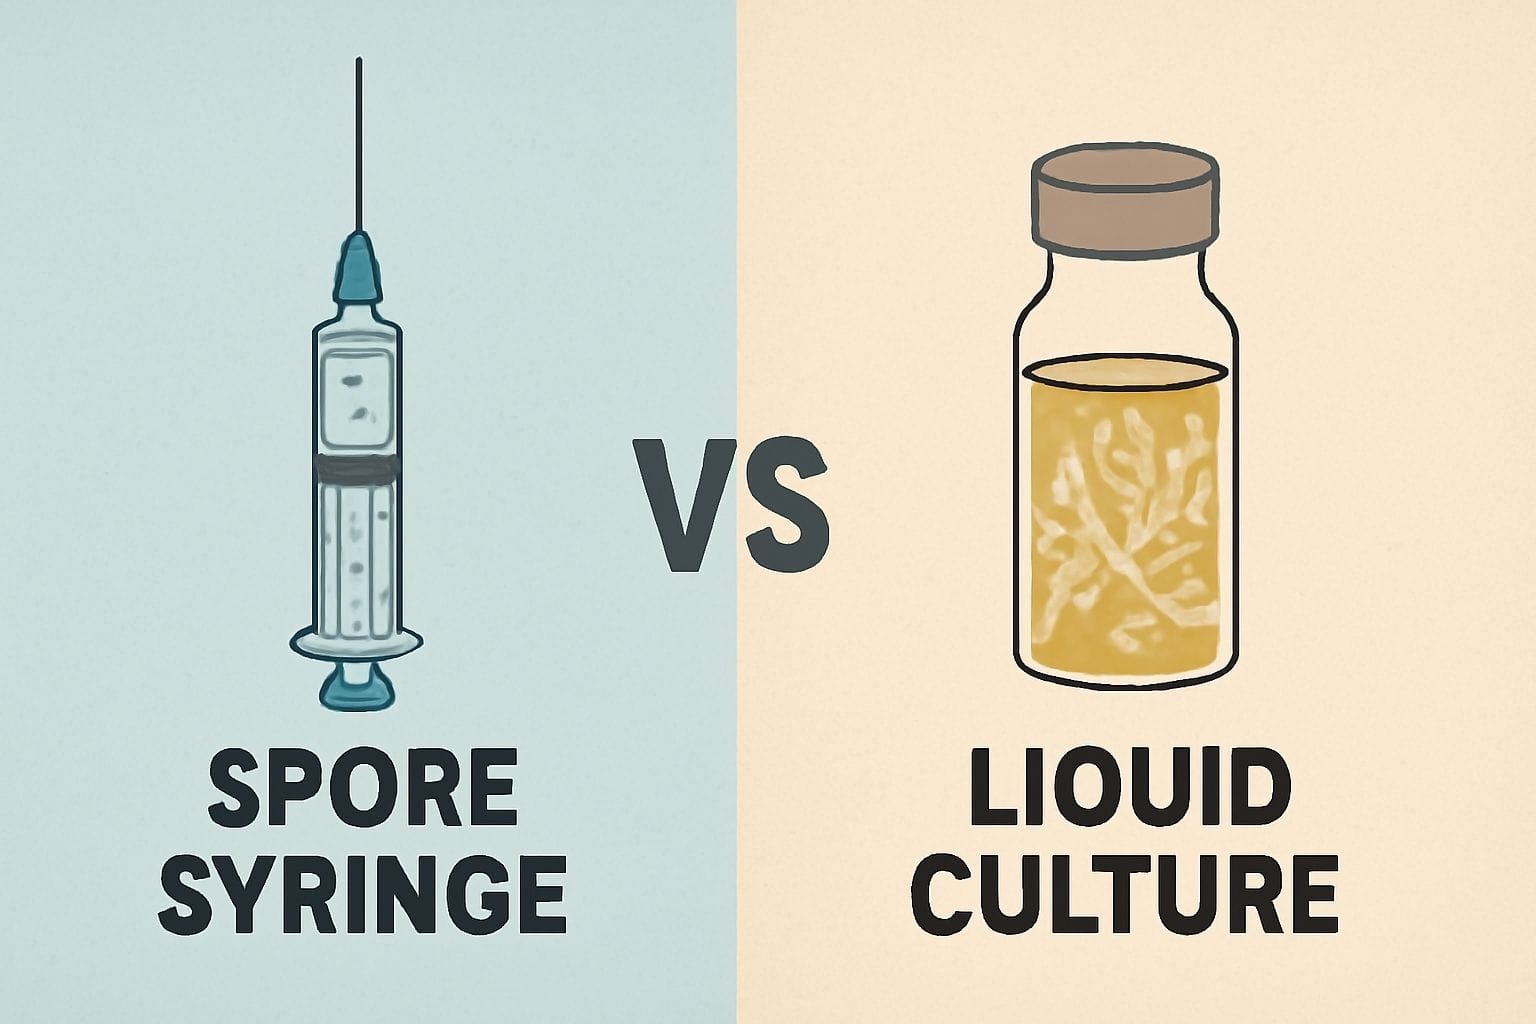
Grain-to-grain transfer is a simple and efficient process where colonized grain spawn is transferred to newly sterilized grain spawn for the purpose of expedited colonization of grain spawn.  This process can be repeated over and over again, which could result in huge amounts of colonized grain.

Blog-banner-desktop-grow-kit-guide

Advantages Of Grain To Grain Transfer

Accelerated grain colonized

  • Inoculating uncolonized grain with colonized grain results in much faster mycelium growth in comparison to inoculation with spore syringes
  • Can be repeated several times, resulting in exponential growth of mushroom spawn
  • More contact points with each individual grain

Cost-effective

  • One jar of colonized spawn can be split into 10 jars of uncolonized spawn. This method allows for exponential growth of mushroom spawn, with the use of only one colonized spawn jar!

Easy & simple method

  • Grain-to-grain transfer is a method used by beginners and advanced mycologists alike
  • Not labor intensive, unlike making agar or liquid culture to use to inoculate
  •  It does not require any special material or equipment, just a clean and sterilized workspace. 
Colonizing mushroom grain spawn after grain to grain transfer

Downsides Of Grain To Grain Transfer

Contaminants 

  • Without a flow hood, while doing grain-to-grain transfer, the grain may be exposed the air during the transfer

Senescence

  • Depending on the mushroom genetics, the number of grain-to-grain transfers could be limited. With the division of cells, there are arguments that the mycelium will weaken over many transfers. Which could possibly cause weaker colonization and fruiting.

Materials:

  • Laminar flow hood or a SAB (still air box)
  • Colonized mushroom spawn
  • Sterilized grain 
  • 70% isopropyl alcohol 

How To Perform Grain To Grain Transfer

Step 1 – Clean Your Workspace

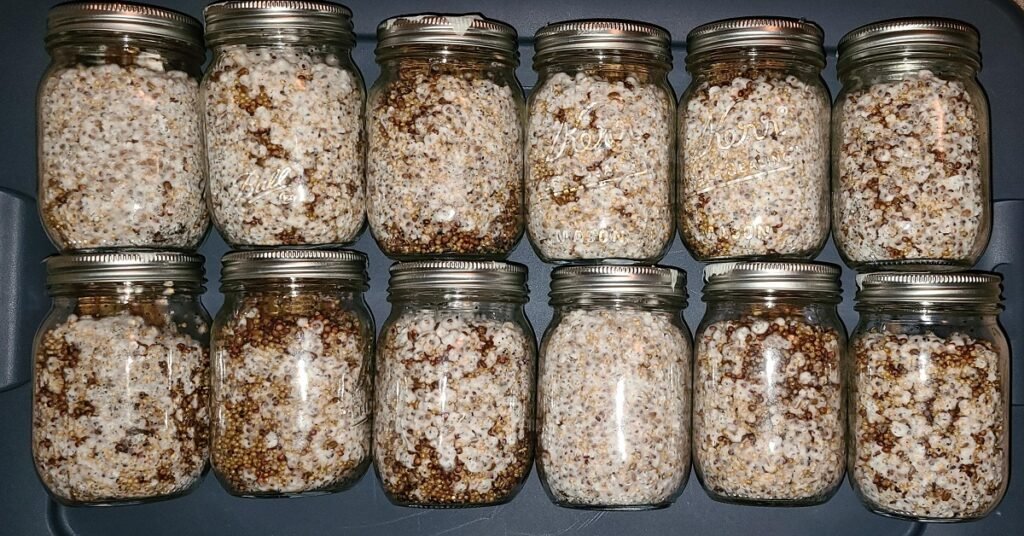
Sterilize workspace and materials. Wipe down the jars/bags of colonized mushroom spawn with 70% isopropyl alcohol. 

Step 2 – Break the Colonized Spawn

Break up colonized mushroom spawn for more evenly distribution

Step 3 – Mix the Colonized Spawn with New Grain

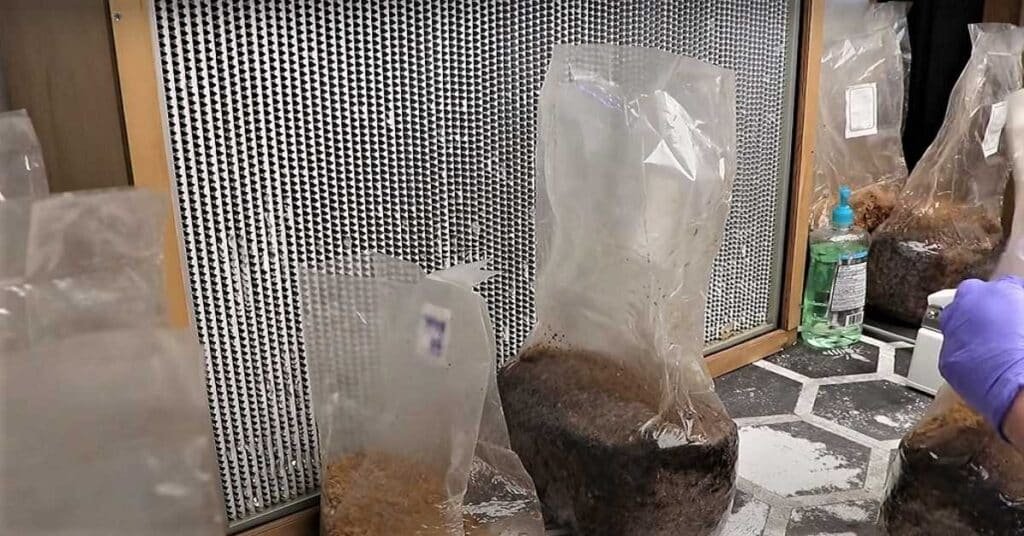
Using a laminar flow hood, or a still air box/glove box, carefully open up the shaken jar/bag of colonized spawn and evenly distribute the grain to the newly sterilized grain jars/bags. 

Step 4 – Seal

Seal the newly transferred jars/bags and give them a good shake to distribute the colonized grain for more contact points, which in turn leads to quicker colonization.

Step 5 – Store the Spawn for Colonization

Store the newly transferred jars/bags in a dark and warm spot, full colonization should take 1-2 weeks.

Step 6 – Rinse and Repeat

Repeat after full colonization for exponential mushroom grain spawn growth.

Blog banner desktop - fruiting mushrooms in bags
Mushroom grain to grain transfer in front of laminar flow hood
Share:
Facebook
Twitter
Pinterest
LinkedIn
Reddit
WhatsApp
Email
Print
Picture of About the Author: Tyler Johnson
About the Author: Tyler Johnson

What began as foraging for mushrooms deep in the woods as a child has graduated to growing mushrooms, eating, cloning, writing, and now spreading the love of mushrooms to the world.

Get The Latest Updates
Subscribe To Our Newsletter

Be the first to know when your favorite products go on sale, when new products are released, and when we publish new guides.

Social Media
Most Popular
Related Posts