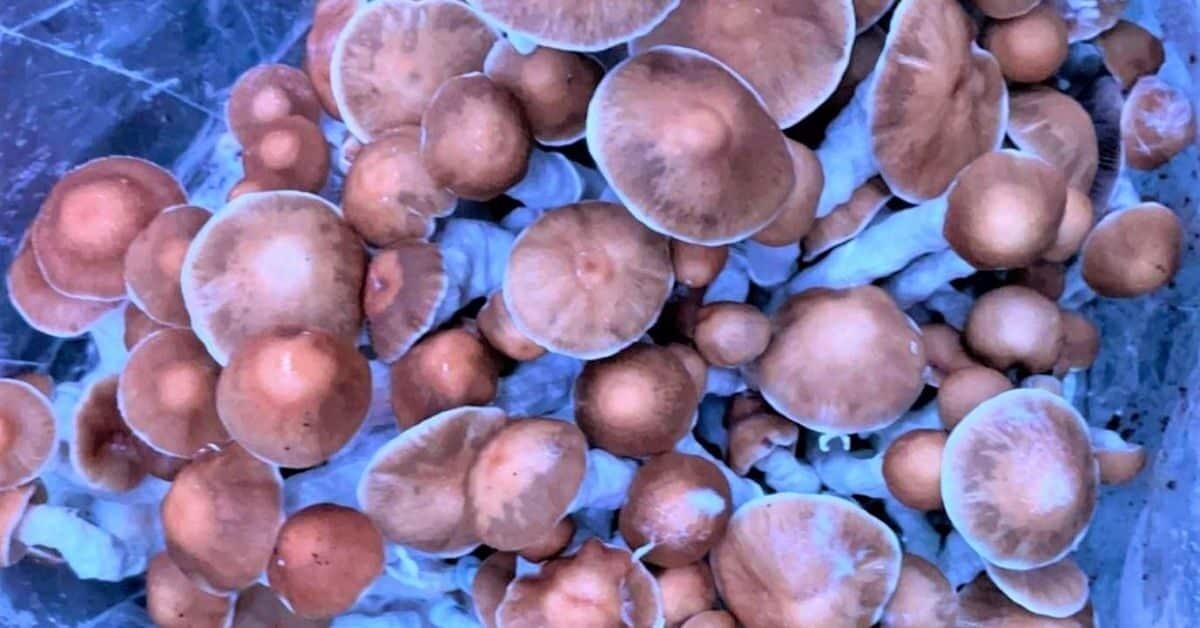
A mushroom spawn bag can be used as a small fruiting chamber, giving your mushrooms excellent fruiting conditions. The versatility of mushrooms allows for growth in many different environments. Whether you are limited on space or want to grow a wide array of mushrooms simultaneously, fruiting directly in mushroom spawn bags is an excellent option. It is a relatively easy-growing method that can also limit the risk of contamination.

Like many other grow guides, you will need colonized grain spawn to begin the mushroom growing process. Grain spawn is sterilized grain (oats, rye berries) that has been inoculated and has had time to fully colonize with mushroom mycelium. With the mushroom mycelium being white in color, it is easy to tell when the grain is fully colonized. When the grains are covered in white mushroom mycelium, the mushroom grain spawn bag is ready for the next step.
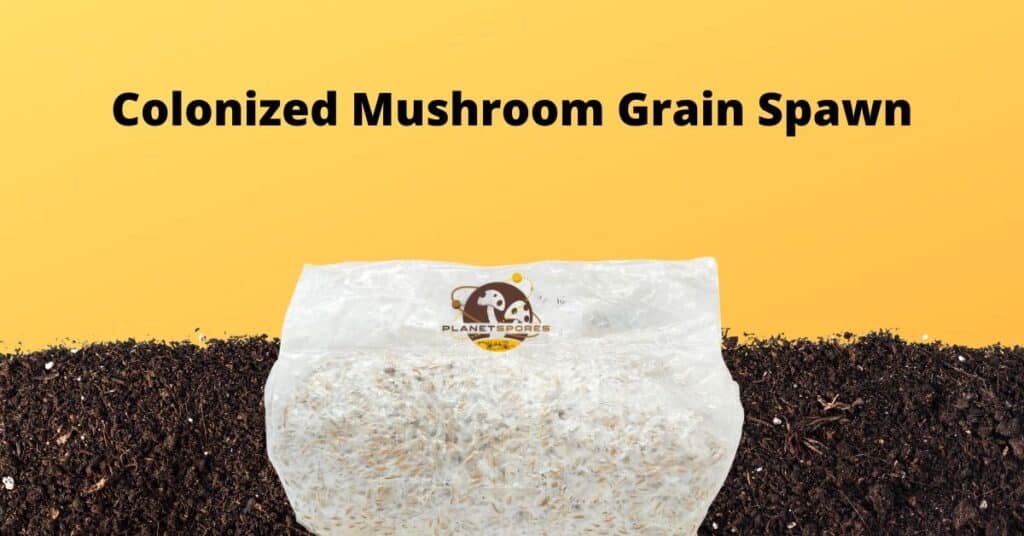
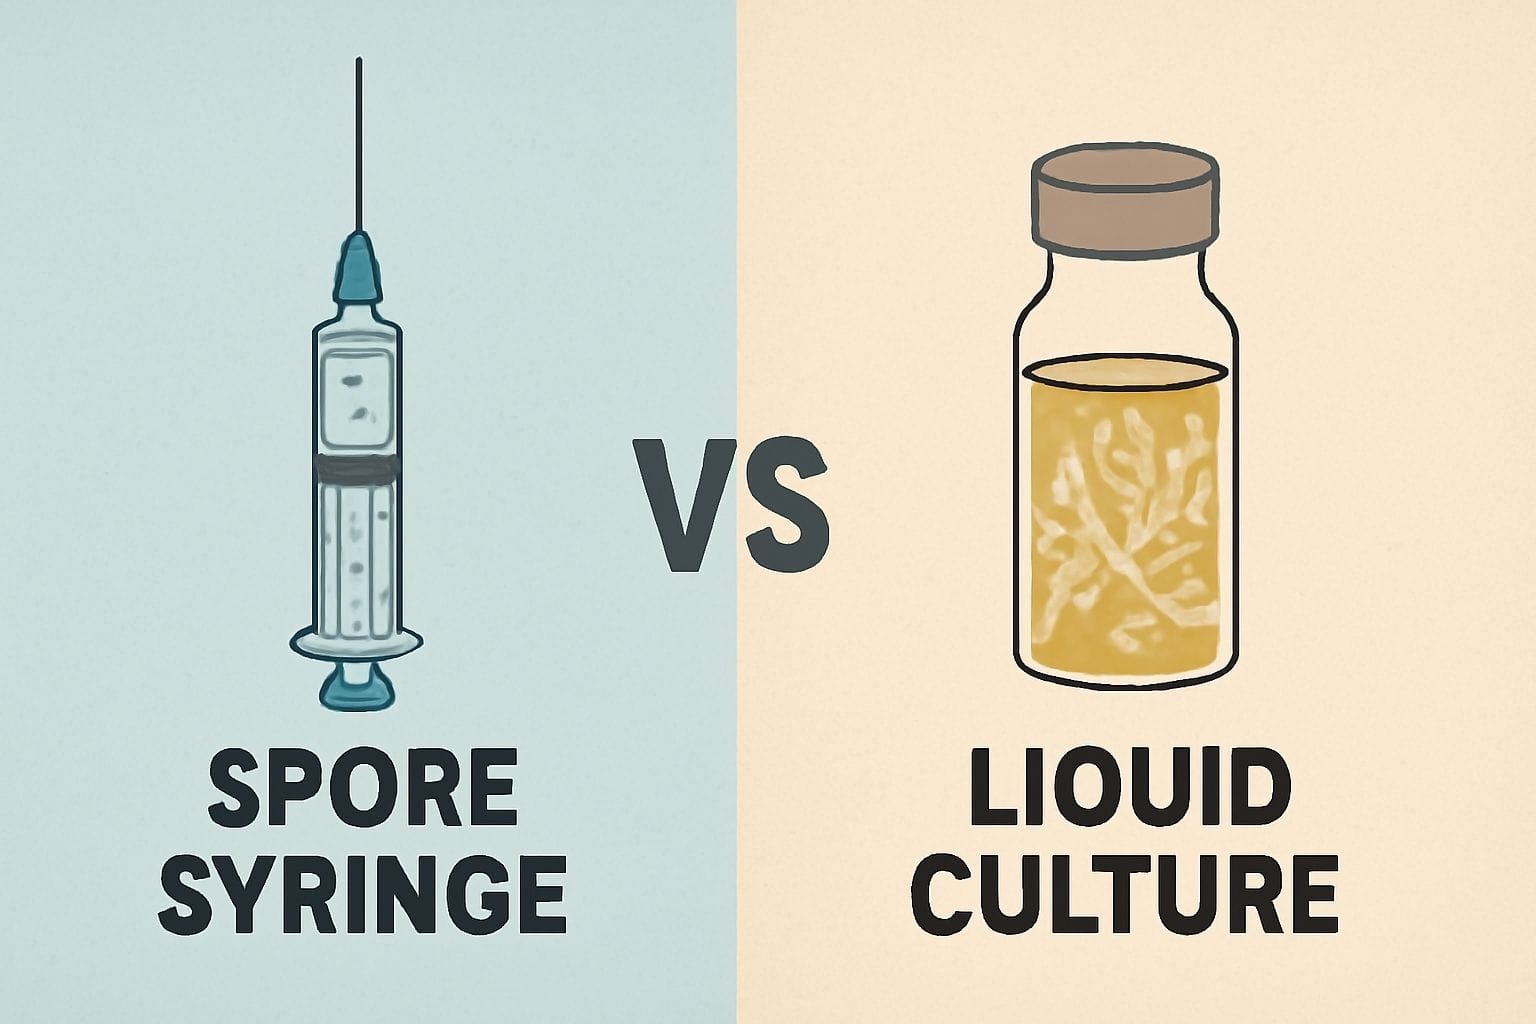
To prepare your own mushroom grain spawn you will need sterilized grain and mushroom genetics. To inoculate your bag of sterilized grain, working in a sterilized workspace, wipe down the back of the 3T Unicorn mushroom spawn bag with 70% isopropyl alcohol, then using a sterile needle, inject 2-3ml of a spore syringe directly through the back of the bag. Once the injection is done, cover the injection hole with micropore tape. Store the inoculated bags in a dark warm space and wait 2-6 weeks to achieve full colonization.
Read: How to Make Your Own Spore Syringes
Along with mushroom spawn, you will need mushroom substrate. We recommend using our Optimized Mushroom Substrate. It consists of a coco coir base, along with other proprietary ingredients to provide optimal hydration, nutrient profile, and a balanced pH for optimal mushroom growth.
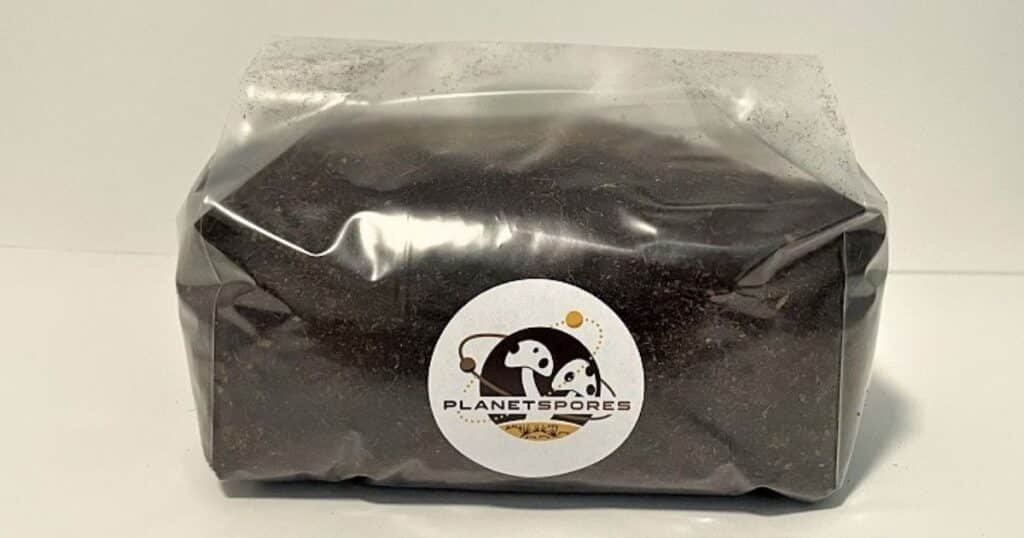
If you decide to make your own, you can purchase coco coir from your local hydroponics store. Whether you buy or prepare your own bulk substrate, you will need to hydrate the mixtures and reach “field capacity”. Slowly add water to the mixtures and mix well. You want to be able to grab a handful of the substrate and squeeze it as hard as you can, a drop or two of water should come out. If it is still too dry, simply add more water as needed. If too much water is coming out, add more coco coir.
Once your bulk substrate has reached field capacity it is time to pasteurize the substrate. If you are using the Optimized Mushroom Substrate, it comes in an autoclavable 14A Unicorn mushroom substrate bag, so you can simply use a pressure canner to pasteurize it.
Another way to pasteurize your substrate is to use the oven. Using any heat-safe pans, compress your substrate into the pan and cover tightly with tinfoil. Leave it in the oven at 170 degrees Fahrenheit for 3 hours.
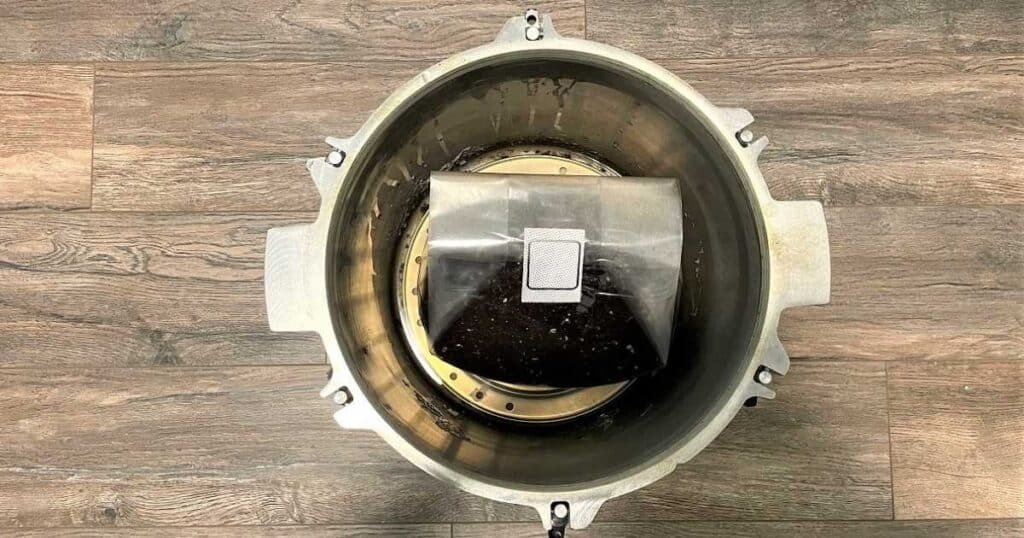
Sterilizing your workspace may be the most important step. It can dramatically decrease your chances of contamination during the mixing process, giving your mushrooms a much greater opportunity to grow.
Fill a spray bottle of 70% isopropyl alcohol, then spray and wipe down your workspace. Wipe everything down including the mushroom spawn bag, mushroom substrate bag, and any tools you will be using, including your hands. Close any windows and air vents. It is highly recommended to block any crevices that will cause unnecessary airflow in your workspace.
Now in your sterilized work space, preferably in front of a flow hood, you will need to break up your colonized mushroom spawn in the bag first. This is to ensure the grain can evenly spread throughout the substrate.
Read: Our in-depth guide on Performing Grain to Grain Transfers
With clean scissors, cut open the top of the bags of colonized mushroom spawn and the bulk substrate (cooled down). Quickly and carefully pour your bulk substrate directly into the bag of colonized mushroom spawn, then fold the tops of the bags and use a binder clip or paper clip to keep them closed.

Now with the bag of colonized grain and bulk substrate closed, carefully shake and mix the two ingredients together. The amount of substrate you want to add is entirely up to you. The less you add, the quicker the incubation process will be and the quicker it will proceed to fruit. Less substrate will also equate to fewer nutrients, thus producing lesser yields. The more substrate you add the longer it will take to reach the fruiting stage, but it will allow for larger yields. Once the bag has been thoroughly mixed, use an impulse sealer to seal the top edge of the bag.
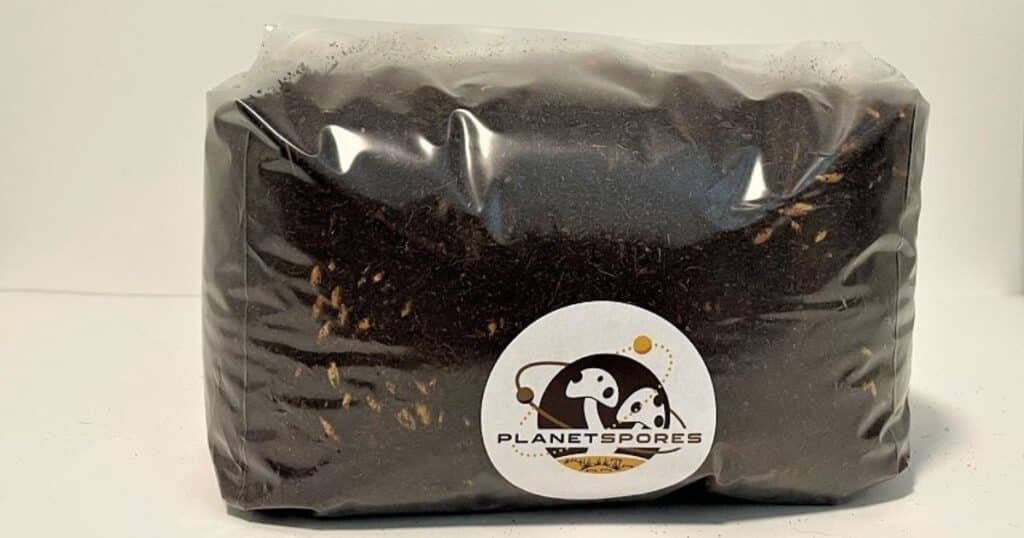
The bags will need to be stored in a warm and dark space. Depending on the colonized grain to mushroom substrate ratio, the incubation process can take between 1 to 3 weeks. You will see white mushroom mycelium from the grains starting to grow and spread all over the freshly mixed fruiting substrate.

Once the colonized grain spawn has fully colonized the mushroom fruiting substrate, you may notice some “pinning”.
Pinning is the process that initiates after mycelium has fully colonized the substrate. The “pins” are the first fruiting bodies that begin to grow. These tiny pins will grow into marvelous mushrooms.
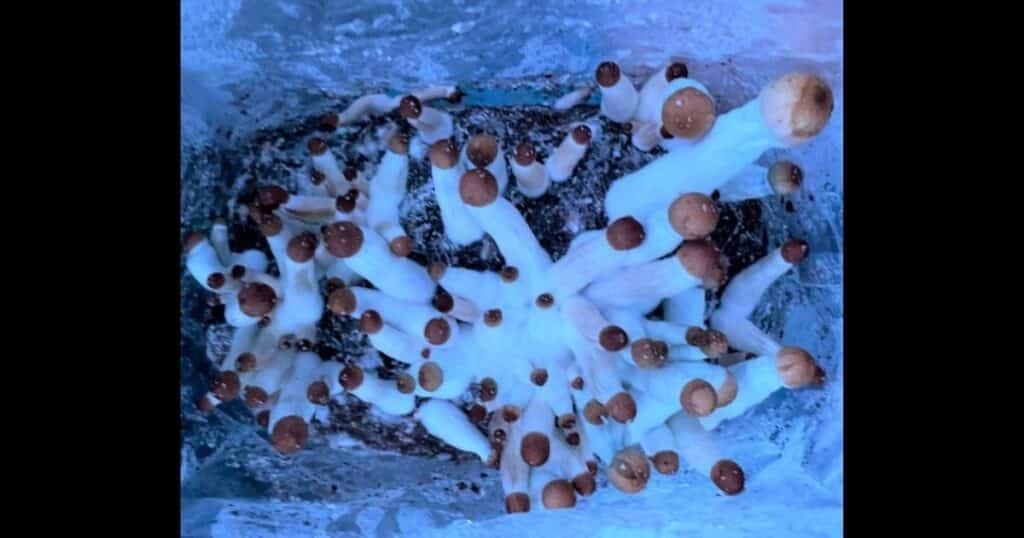
Once pinning has begun, it is time to cut open the top of the bag to allow for fresh air exchange. The mycelium from the colonization within the bag generates CO2 , which is essential to begin the pinning process but can be harmful once the fruiting bodies (mushrooms) begin to appear and grow. This is why it is important to allow for fresh air exchange (fae) 2-4 times a day. After airing the bags out, make two small and tight folds at the top of the bag and use a binder clip to keep it closed. Not allowing the bags to have fresh air exchange will cause a buildup of CO2 which can negatively affect your yield.
The recommended temperature for fruiting is between 22-27°C (70-79°F). Somewhere in the middle around 24-25°C would be optimal, but staying within the range is sufficient. At the lower limit(< 22°C), growth will be delayed, if not stunted. At the upper limit(>28°C), there is a risk of activating pathogens and mycelium can switch back to the vegetative phase and produce more mycelium instead of fruiting bodies.
Leaving the bags in a room with a window would be sufficient for light. As long as the sunlight is indirect, it will be effective. If there is no access to natural light, a 12 hour on/off light cycle would also be sufficient.
With the bags acting like a small fruiting chamber, it will only need to be misted once a day. Do not mist directly onto the pins, mist the sides of the bags. The bags should be left in a warm space with indirect light.

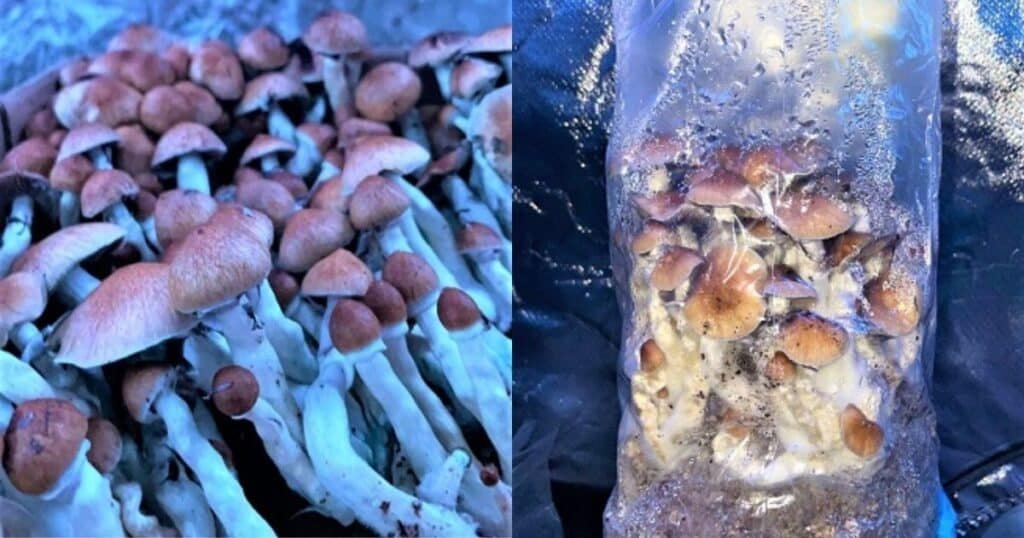
Fruiting can happen very quickly within these bags that act like small fruiting chambers. The aim is to pick the mushrooms right as or slightly before the veil has broken away from the cap. If the veil fully opens, it will release spores all over your substrate and the other smaller mushrooms, it makes a mess and can negatively affect your next flush.
When picking mushrooms from within the bags, ensure it is done in a sterile environment, repeat step 3 if necessary. While wearing gloves that have been sterilized, begin harvesting the mushrooms on the outside first and work your way in. It will be a tight space, take your time and be careful.
Once all the mushrooms have been harvested, you can rehydrate the colonized mushroom substrate mixture to induce more mushroom growth. Simply mist the top where the mushrooms were growing. Make sure to not over hydrate, once the top looks damp all around, that should be plentiful. After hydrating, fold the top of the bag over again and keep it closed with a binder clip. Store the bag in fruiting conditions and wait for more mushrooms to grow!
Read: How to Dry Mushrooms!

What began as foraging for mushrooms deep in the woods as a child has graduated to growing mushrooms, eating, cloning, writing, and now spreading the love of mushrooms to the world.
Be the first to know when your favorite products go on sale, when new products are released, and when we publish new guides.

Growing mushrooms can be incredibly rewarding until your mycelium stalls. You’ve inoculated your jars or substrate, and now you’re staring at the same patch of
In today’s age of wellness, where food and medicine intertwine more than ever, mushrooms have carved out a niche in the conversation about superfoods. These

Summary: Pet owners’ awareness of quality care keeps rising as they explore holistic methods that focus on preventive care, natural healing practices, and pet well-being.
In today’s fast-paced world, mental well-being has become a top priority for individuals striving to find balance amidst the pressures of daily life. Engaging in