People buy magic mushroom grow kits for two reasons; price and convenience.
What is meant by convenience? Well, throughout the mushroom growing cycle, there are several steps that require specialized equipment such as a pressure cooker, flow hood, mushroom bags, micro-pore tape, etc.
Furthermore, several steps are detail-oriented with little room for error, which may seem daunting to new mushroom enthusiasts. Some challenging steps include inoculation, spawn and substrate sterilization, and fruiting.
Conveniently all of our grow kits offer sterilized mushroom grain spawn and sterilized substrate, as well as easy solutions for genetic inoculation, and mushroom fruiting.
Cost is another reason people love psychedelic grow kits. It’s often cheaper to purchase a grow kit rather than sourcing all supplies needed to grow mushrooms individually.
We offer a wide range of mushroom mediums, supplies, and tools in our shroom kits. We’ve tailored our mushroom kits to meet the needs of multiple types of growers.
Some of our kits offer just the basics like spawn and spores, which are intended for mycologists who would prefer a more DIY approach to mushroom cultivation. However other kits include every supply imaginable plus the usual spawn, substrate, and genetics.
Does mushroom cultivation seem challenging to you? Or maybe you don’t own a pressure cooker or flow hood. Don’t sweat it, in this guide I’ll discuss the pros and cons of our different grow kits and hopefully point you toward the kit that is best suited for you.
The sanitization step is often overlooked, don’t skip it it’s so important. Even the smallest amount of bacteria can ruin your grow kit.
Air: Turn off anything that contributes to air circulation such as AC units, fans, and heaters, and close the door to your workspace.
Yourself: Wear gloves and a mask, and wipe your hands and arms with 70% isopropyl alcohol.
Spawn bag: Wipe down your spawn bag with 70% isopropyl alcohol (don’t get any inside the bag).
Workstation: Clean the table you are working on and any tools you’ll be using with 70% isopropyl alcohol.
Injection area: Wipe this area down again when you are ready to inoculate.

Injection area: Wipe the injection area with 70% isopropyl alcohol.
Prepare the syringe: Attach a clean pre-sealed needle (provided) to the syringe. If you are re-using needles (not recommended), you need to flame sterilize the needle.
Inoculate: Gently inject 5 – 10ml of spore or liquid culture solution into the bulk of the spawn bag. Gently remove the syringe from the bag and put the safety cap back on the needle.
Cover the hole: Cover the injection holes with clean tape preferably micropore tape. If you’re using a self-healing injection port, wipe it with isopropyl and allow it to self-heal.

Store the spawn: Place your inoculated mushroom spawn in a dark area with no direct sunlight to allow it to colonize with mycelium.
Temperature: 20°C – 26°C or 70°F – 79°F
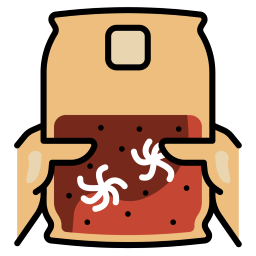
Mix the bag: Once your bag is around 30% colonized with white mycelium, it’s time to mix it. From outside the bag, gently knead your bag to break up the mycelium, the goal is to evenly distribute it throughout your bag so it can colonize quickly.
This step will differ slightly depending on if you’re fruiting in a bag or a tub. This is the first time in the cultivation process that you’ll be working with substrate.

Mixing using All-In-One Kits: This step is very easy with this kit, once the spawn is fully colonized gently knead it together with the substrate that is already conveniently sitting in the bag for you.
Air: Turn off anything that contributes to air circulation such as AC units, fans, and heaters, and close the door to your workspace.
Yourself: Wear gloves and a mask, and wipe your hands and arms with 70% isopropyl alcohol.
Workstation: Clean the table you are working on and any tools you’ll be using with 70% isopropyl alcohol.
Mixing using normal mushroom bags: You must follow the above sterile practices as this step involves exposing your grow kit to the open air. Pour the fully colonized broken-up spawn into the substrate fruiting bag. Gently knead the two mediums together until they’re distributed evenly throughout the bag.
Tamp: Level out the surface of the growing medium and lightly pat the top layer down.
Prepare the monotub
Fresh air exchange holes: Drill or cut several holes on the sides of your tub above where the fruiting medium will sit. Cover the holes with poly-fil or micropore tape.
Liner (optional): Some mycologists like to line their monotubs with a garbage bag or similar material. Liners can help prevent mushrooms from growing on the sides and bottom of the monotub.
Read: Our detailed guide on how to create a monotub fruiting chamber
Air: Turn off anything that contributes to air circulation such as AC units, fans, and heaters, and close the door to your workspace.
Yourself: Wear gloves and a mask, and wipe your hands and arms with 70% isopropyl alcohol.
Workstation: Clean the table you are working on, your monotub, and any tools you’ll be using with 70% isopropyl alcohol.
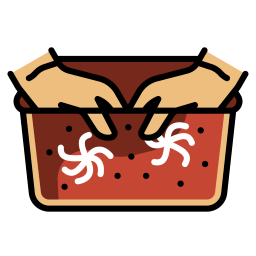
Mixing using monotubs: You must follow the above sterile practices as this step involves exposing your mediums to the open air. Pour sterile substrate and fully colonized broken-up spawn into your monotub. Gently mix the two mediums together until they’re distributed evenly throughout the monotub.
Tamp: Level out the surface of the growing medium and lightly pat the top layer down.

Store the spawn: Place your fruiting mixture in a dark area with no direct sunlight to allow it to colonize with mycelium.
Temperature: 20°C – 26°C or 70°F – 79°F
To induce your mushroom grow kit to fruit, you must change the environmental conditions such as fresh air exchange, humidity, and light. Imagine your mushrooms are growing naturally in the wild, that’s what we’re trying to emulate in this step.
This step will differ slightly depending on if you’re fruiting in a bag or a tub.
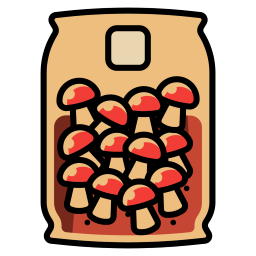
Cleanliness: Although at this stage your grow kit will be more resistant to contamination than during the early phases of growth, it’s still important to follow proper cleanliness protocols to extend its life. Anytime you open the bag to mist, ensure your hands are clean and any airflow devices are turned off.
Fresh air exchange: Before this step, your bag should have been sealed shut, now to increase fresh air exchange, cut the seal at the top of the bag and clip it with a paper clip or binder clip.
Humidity: To increase humidity you will use a spray bottle filled with water, set the spray nozzle to spray a fine mist. Open the bag and mist the sides of the grow bag and the fruiting medium (avoid water pooling).
Q: How do you know when to mist?
A: When there is no visible moisture on the inside of the grow bag, it’s too dry.
Light: Light is the least important when it comes to inducing mushroom fruiting. A little bit of light goes a long way. In direct sunlight or a small light in your growing area will work just fine. Turn the lights off when you go to sleep.
Temperature: 19°C – 24°C or 66°F – 75°F
It’s best to fruit in slightly cooler conditions than all of the previous steps to prolong the life of your grow kit. The warmer it is the faster the kit will succumb to contamination.
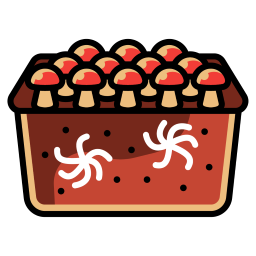
Cleanliness: Although at this stage your grow kit will be more resistant to contamination than during the early phases of growth, it’s still important to follow proper cleanliness protocols to extend its life. Anytime you open the monotub to mist, ensure your hands are clean and any airflow devices are turned off.
Fresh air exchange: Keep the lid on your monotub the air holes you created during step 4 will allow for ample fresh air exchange within your monotub.
Humidity: To increase humidity you will use a spray bottle filled with water, and set the spray nozzle to spray a fine mist. Open the monotub and mist the sides of the monotub and the fruiting medium (avoid water pooling).
Q: How do you know when to mist?
A: When there is no visible moister on the inside of the monotub, it’s too dry.
Light: Light is the least important when it comes to inducing mushroom fruiting. A little bit of light goes a long way. In direct sunlight or a small light in your growing area will work just fine. Turn the lights off when you go to sleep.
Temperature: 19°C – 24°C or 66°F – 75°F
It’s best to fruit in slightly cooler conditions than all of the previous steps to prolong the life of your grow kit. The warmer it is the faster the kit will succumb to contamination.

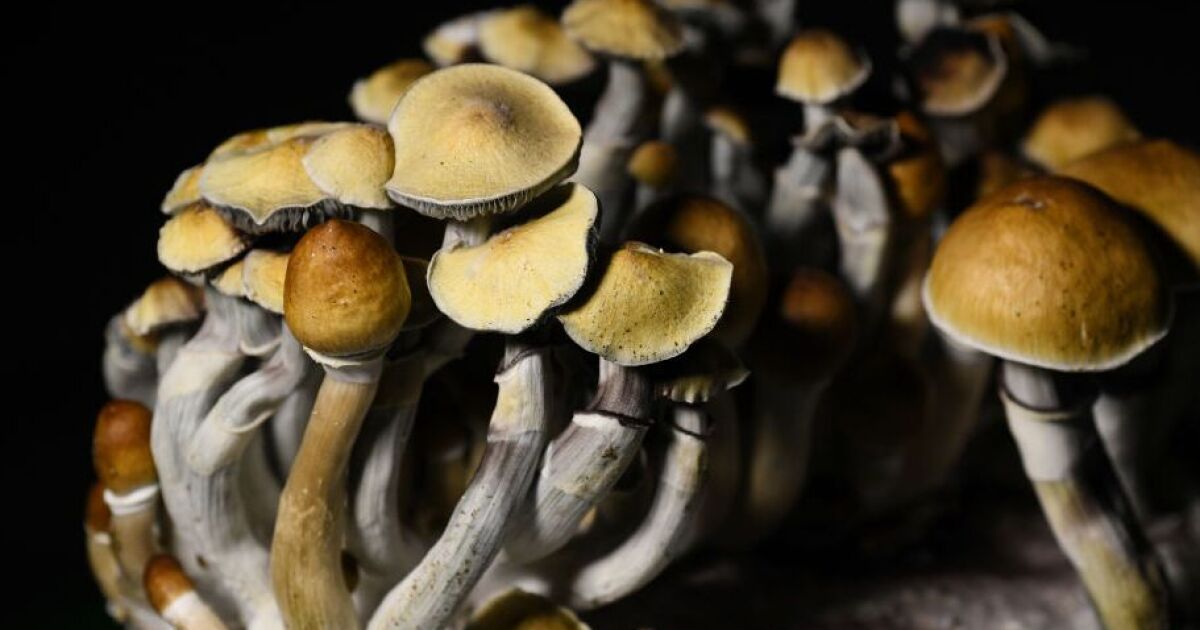
Timeline: After your kit has been in fruiting conditions for roughly 7 to 14 days pins (baby mushrooms) will begin to form. Once pinning begins, pay close attention to your kit, as the pins will mature into fully developed mushrooms quite quickly.
When to harvest: When most of the mushrooms have reached maturity. The caps will be formed and the veil will begin to tear away from the caps. Avoid letting all veils drop completely, the mushrooms will release their spores all over your fruiting medium, negatively impacting your kit’s ability for multiple flushes.
How to harvest: It’s still important to follow cleanliness best practices, wear gloves, and turn off any airflow devices in your fruiting room. Open the monotub or grow bag and harvest all of the mushrooms. Do so by gently twisting and pulling at the bottom of the mushroom stem (avoid excessive damage to your fruiting medium).
Dry your mushrooms: Dry your mushrooms using your preferred method.
Read: Drying your mushrooms at home
Rehydrate your kit to induce another flush: Once you’ve harvested all the mushrooms in the kit, mist your monotub or grow bag generously, then place it back in fruiting conditions for 1 to 2 weeks and more mushrooms will grow. You can repeat this process until your mushroom grow kit is taken over by contamination or runs out of nutrients.
There are many determining factors when it comes to picking the right mushroom grow kit for your needs. Let’s go over some of the key factors.
The range of tools and supplies within the mycology industry is vast, some products are essential, while others are a convenience.
Do you like to have all the bells and whistles? If yes, our Myco Essentials Magic Mushroom Grow Kit is a great choice, as it contains a wide range of mycology products as well as the base mediums needed for cultivation.
On the other hand, if you like to stick with the basics, our Shroom-Pro Magic Mushroom Spore Grow Kits will be a great choice for you.
Further down in this guide, I’ll discuss the contents of each kit in great detail.
Convenience comes down to how much of the fungi cultivation process you want to take on and feel comfortable completing yourself.
At the very least all of our kits offer sterilized mushroom spawn and genetics (spores). If you want to kick it up a notch you can add sterilized fruiting substrate and even small monotub fruiting chambers to your kit.
Price plays a role in every purchase decision, we have priced our kits competitively while taking into account the price of supplies and labor involved with preparing our mushroom grow kits.
Our most cost-effective kits are the Mushroom Spore and Spawn Bundles, then the price increases as we add more supplies and labor.
Genetics | 2x spore syringe | 1x spore syringe | 2x spore syringe | 1x spore syringe | 2x spore syringe |
2x rye 2.5 lb bags | 1x rye 1 lb bag | 2x rye 2 lb bags | 1x rye & substrate all-in-one 5L bag | 2x rye 1 lb bags | |
Pre- Sterilized Spawn | Yes | Yes | Yes | Yes | Yes |
No substrate | 1x substrate 2.5 lb bag | 2x substrate 2.5 lb bags | 1x rye & substrate all-in-one 5L bag | 2x substrate 2 lb bags | |
Pre- Sterilized Substrate | N/A | Yes | Yes | Yes | Yes |
Tools | No extra tools | Fruiting tub (optional) | Fruiting tubs (optional) | No extra tools | Mushroom bags, P.P.E gear, Poly-fil, Micropore, Tape, Fruiting tubs (optional) |
Difficulty | Moderate | Easy-moderate | Easy-moderate | Easiest | Easy-moderate |
Discount | 20% OFF | 5% OFF | 10% OFF | 25% OFF | 15% OFF |
Price | $60 – 68 | $46 – 72 | $80 – 120 | $71 – 75 | $105 – 143 |
| Mushroom Spore Syringe & Rye Spawn Bundle | Shroom-Pro Magic Mushroom Spore Grow Kit (S) | Shroom-Pro Magic Mushroom Spore Grow Kit (L) | All-In-One Magic Mushroom Fruiting Kit | Myco Essentials Magic Mushroom Grow Kit | |
|---|---|---|---|---|---|
| Genetics | 2x spore syringe | 1x spore syringe | 2x spore syringe | 1x spore syringe | 2x spore syringe |
| Spawn | 2x rye 2.5 lb bag | 1x rye 1 lb bag | 2x rye 1 lb bag | 1x rye & substrate all-in-one 5 lb bag | 2x rye 1 lb bag |
| Pre- Sterilized Spawn | Yes | Yes | Yes | Yes | Yes |
| Substrate | No substrate | 1x substrate 2.5 lb bag | 2x substrate 2.5 lb bag | 1x rye & substrate all-in-one 5 lb bag | 2x substrate 2.5 lb bag |
| Pre- Sterilized Substrate | N/A | Yes | Yes | Yes | Optional |
| Tools | No extra tools | Fruiting tub (optional) | Fruiting tubs (optional) | No extra tools | Mushroom bags, P.P.E gear, Poly-fil, Micropore, Tape, Fruiting tubs (optional) |
| Difficulty | Moderate | Easy-moderate | Easy-moderate | Easiest | Easy-moderate |
| Discount | 20% OFF | 5% OFF | 10% OFF | 25% OFF | 15% OFF |
| Price | $60 - 68 | $46 - 72 | $80 - 120 | $71 - 75 | $105 - 143 |
Grow Kit Includes:
Description: This kit is the perfect fit for mycologists who want to make use of our sterilized rye grain spawn and psilocybin mushroom spores but wish to source/make their own fruiting substrate.
Pros: Save 20% OFF vs buying these items individually, pre-sterilized spawn, powerful mushroom genetics.
Cons: Doesn’t include fruiting substrate or other mycology supplies.
Grow Kit Includes:
Description: The Shroom-Pro Spore Kit (S) is perfect for mushroom enthusiasts looking for a small magic mushroom kit with all the basic growing mediums, genetics, and a fruiting apparatus included.
Pros: Save 5% OFF vs buying these items individually, pre-sterilized spawn, pre-sterilized substrate, and powerful mushroom genetics.
Cons: This is a small kit, which allows you to grow one strain. Does not include other mycology supplies like tape, gloves, spray bottles, etc.
Grow Kit Includes:
Description: The Shroom-Pro Mushroom Spore Kit (L) is perfect for people looking for a large magic mushroom kit with all the basic growing mediums, genetics, and a fruiting apparatus included.
Pros: Save 10% OFF vs buying these items individually, pre-sterilized spawn, pre-sterilized substrate, and two powerful mushroom genetics.
Cons: Does not include other mycology supplies like tape, gloves, spray bottles, etc.
Grow Kit Includes:
Description:
Our All-In-One mushroom grows kit was designed with simplicity and convenience in mind, it’s the most beginner-friendly kit we offer. Both the spawn and substrate come pre-sterilized in one bag which also features an injection port. Perform all mushroom cultivation steps within one bag, even fruiting, which greatly simplifies things for folks and reduces your chances of contamination.
Pros: Save 25% OFF vs buying these items individually, everything is sterilized, with powerful mushroom genetics, a pre-installed injection port for safe inoculation, and fruit within the bag.
Cons: Does not include other mycology supplies like tape, gloves, spray bottles, etc.
Grow Kit Includes:
Description: The Myco Essentials kit is the perfect bundle for mycologists looking to purchase everything needed for mushroom growing all at once. All mediums with this kit are sterilized. You can add monotub fruiting chambers as well. Trust us you’ll find good uses for the extra P.P.E. gear as well as the micro-pore tape, poly-fil, and misting spray bottle.
Pros: Save 15% OFF vs buying these items individually, all the basic growing mediums, powerful mushroom genetics, fruiting apparatuses, and specialized mycology supplies.
Cons: Expensive but includes lots of extra mycology supplies.
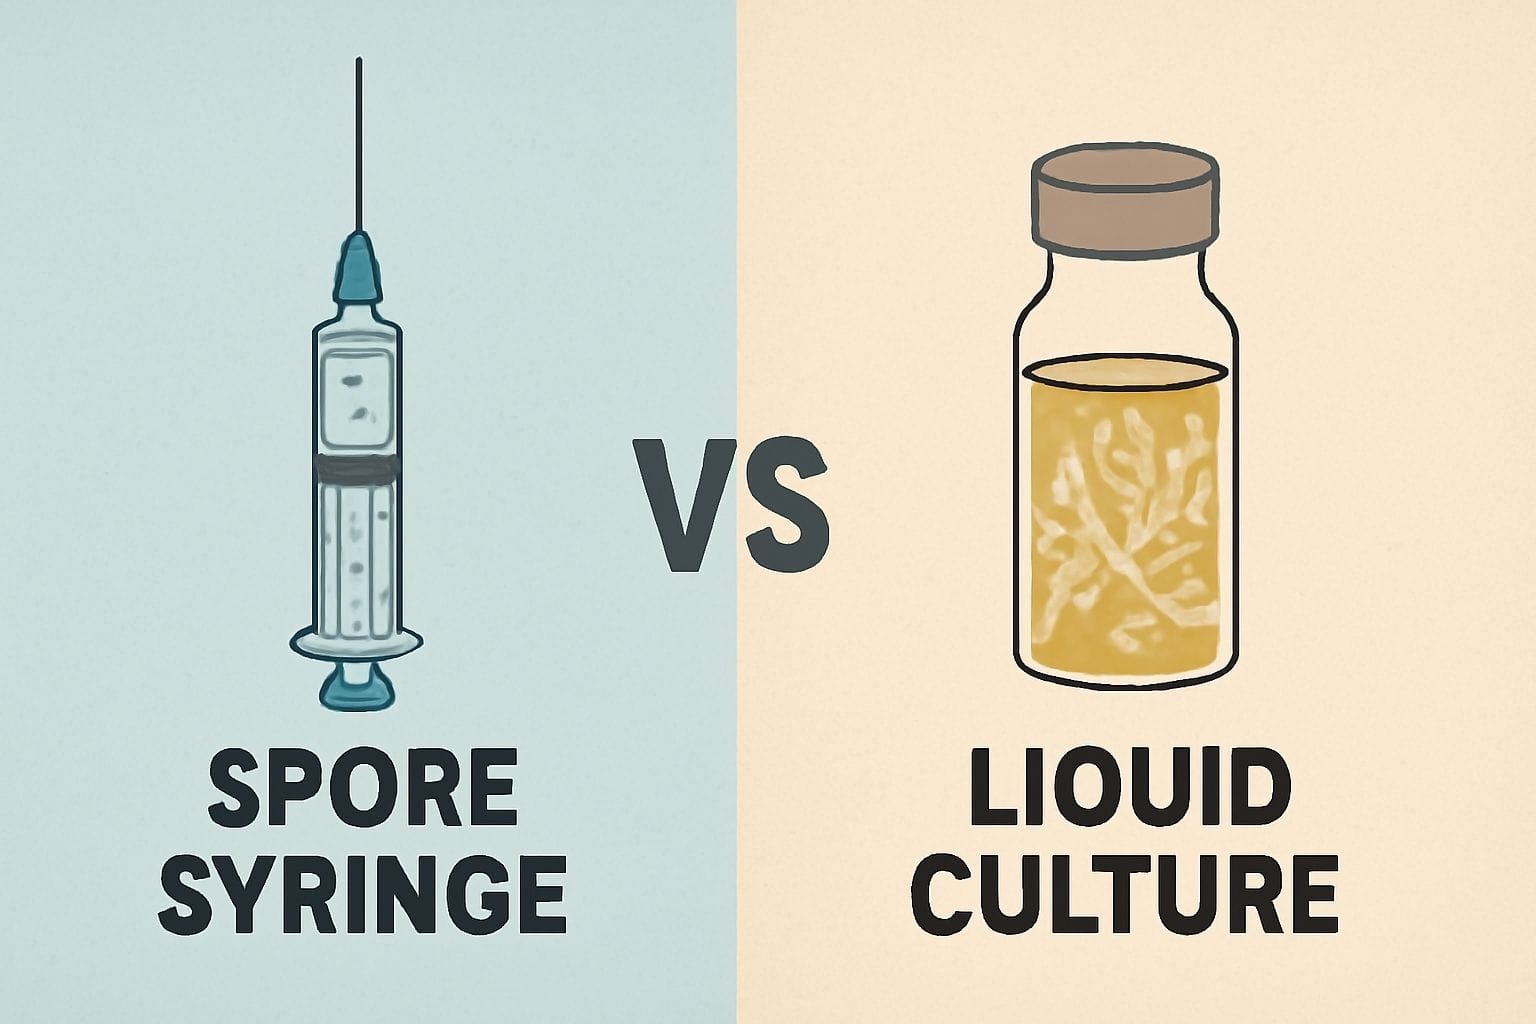
All of our grow kits give you the option to select spores/liquid culture syringes from our ever-expanding psychedelic and gourmet mushroom culture library. All of our genetics are tested before being made available for sale to the public and are prepared in a sterile environment to ensure cleanliness.
Psilocybe cubensis Spores:
Psilocybe cubensis liquid culture:
Gourmet liquid culture:
Several factors set our mushroom grow kits apart from our competition. One of the reasons customers choose our grow kits over others is our unparalleled customer service. We are willing to work with our customers to reach a positive outcome. If we make a mistake on your order or something arrives contaminated, contact us, and we will remedy the situation right away.
Another key advantage we offer is the choice of so many different mushroom strains available in each magic mushroom grow kit, the possibilities are endless.
With many years of experience combined throughout our team, both as a mushroom business and a hobby you can trust that our products are created with love.
From beginning to end, it takes roughly 1 to 2 months depending on species, growing conditions, and techniques used.
Between 20°C – 26°C or 70°F – 79°F.
It’s hard to say, as this can vary greatly depending on your setup and species. Somewhere between 19°C – 24°C or 66°F – 75°F. The warmer it is, the faster mold will develop, though if it’s too cold the harvest will not be as plentiful.
The All-In-One Mushroom Fruiting Kit.
No, the sterilized contents of each kit are sealed properly to prevent contamination during transit.
If you see water pooling on top of the fruiting medium, you have watered too much.
When there is no visible moisture on the inside of the monotub, it’s too dry.
Although injection ports are a nice feature, they are not required for safe inoculation. Clean the injection area and your workstation, and then inject directly into the bulk of the spawn. Cover the hole with micro-pore tape or something similar.
There are too many variables with mushroom cultivation to accurately give you an estimate. We have done everything we can on our end to give you the best chances of success, now it’s up to you.
Yes, for your convenience all grain spawn within our grow kits come pre-sterilized.
Once all the mushrooms have been harvested, you can rehydrate the colonized mushroom substrate mixture to induce more mushroom growth. Simply mist the top where the mushrooms were growing. Make sure to not over hydrate, once the top looks damp all around, that should be plentiful. After hydrating, close the bag/tub. Store the bag in fruiting conditions and wait for more mushrooms to grow.
The way you treat your grow kit will determine how long it lasts. Complete all the required mushroom growing steps correctly and practice good sterile techniques and your kit should last multiple flushes.
You can tell the grow kit is finished when it stops producing mushrooms even after you’ve rehydrated it or when the kit has been overtaken by contamination.
Whether you’re using the bag or monotub method to fruit from our grow kits, fruiting can happen very quickly. The aim is to pick the mushrooms right as or slightly before the veil has broken away from the cap. If the veil fully opens, it will release spores all over your substrate and the other smaller mushrooms, it makes a mess and can negatively affect your next flush.
When picking mushrooms from our kits, ensure it is done in a sterile environment. While wearing gloves that have been cleaned, begin harvesting the mushrooms on the outside first and work your way in. It will be a tight space, take your time and be careful.

What began as foraging for mushrooms deep in the woods as a child has graduated to growing mushrooms, eating, cloning, writing, and now spreading the love of mushrooms to the world.
Be the first to know when your favorite products go on sale, when new products are released, and when we publish new guides.

Growing mushrooms can be incredibly rewarding until your mycelium stalls. You’ve inoculated your jars or substrate, and now you’re staring at the same patch of
In today’s age of wellness, where food and medicine intertwine more than ever, mushrooms have carved out a niche in the conversation about superfoods. These
Summary: Pet owners’ awareness of quality care keeps rising as they explore holistic methods that focus on preventive care, natural healing practices, and pet well-being.
In today’s fast-paced world, mental well-being has become a top priority for individuals striving to find balance amidst the pressures of daily life. Engaging in