
Out of stock

Only 1 left in stock
Out of stock
Out of stock
Only 3 left in stock


Only 1 left in stock
Only 4 left in stock

Only 4 left in stock
Only 3 left in stock
Out of stock
Only 5 left in stock


Out of stock
Out of stock
Only 3 left in stock
Only 2 left in stock
Out of stock
Only 1 left in stock
Out of stock

Only 4 left in stock


Only 5 left in stock
Only 4 left in stock

Only 3 left in stock
Out of stock
Out of stock

Only 5 left in stock


Out of stock
Only 1 left in stock
Out of stock
Out of stock
Only 3 left in stock
Only 1 left in stock
Only 4 left in stock
Only 4 left in stock
Only 3 left in stock
Out of stock
Only 5 left in stock
Out of stock
Out of stock
Only 3 left in stock
Only 2 left in stock
Out of stock
Only 1 left in stock
Out of stock
Only 4 left in stock
Only 5 left in stock
Only 4 left in stock
Only 3 left in stock
Out of stock
Out of stock
Only 5 left in stock
Read: Learn the differences between our grow kits and how to successfully use them.
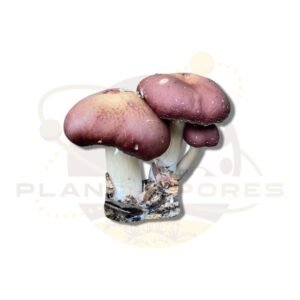
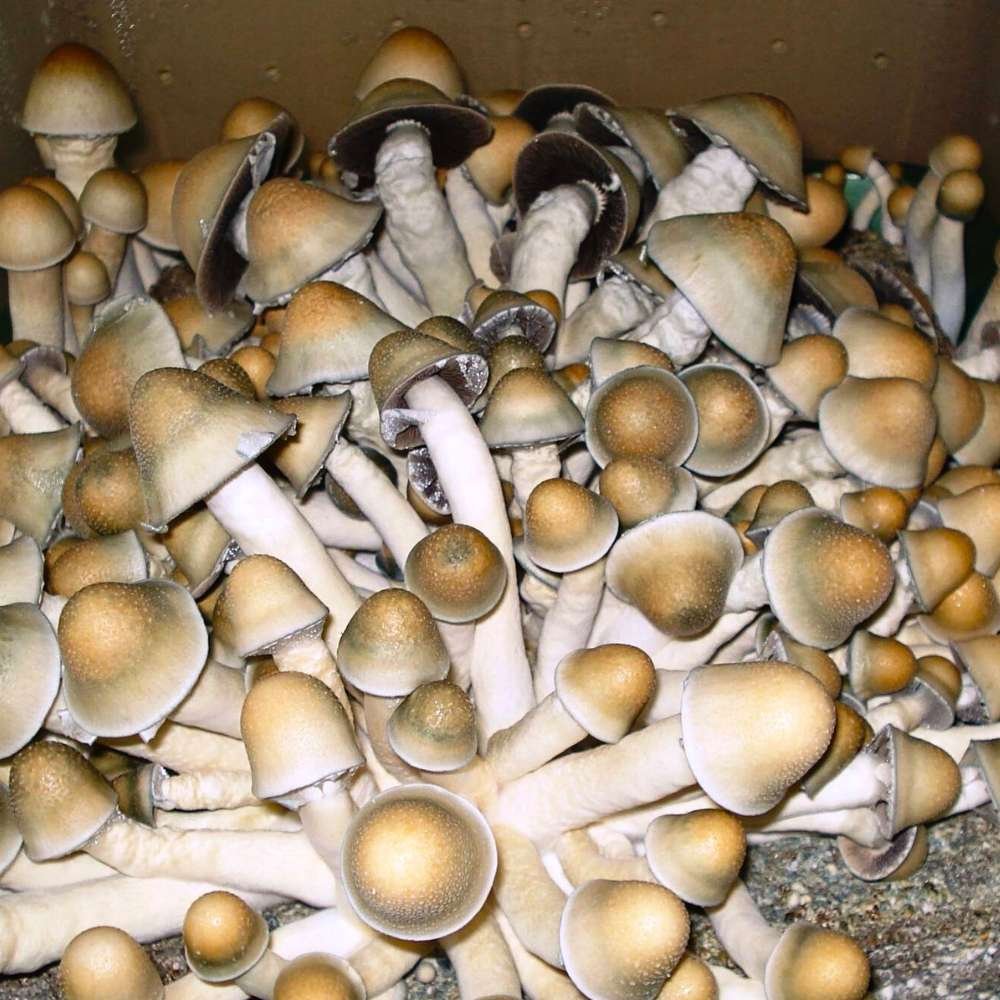
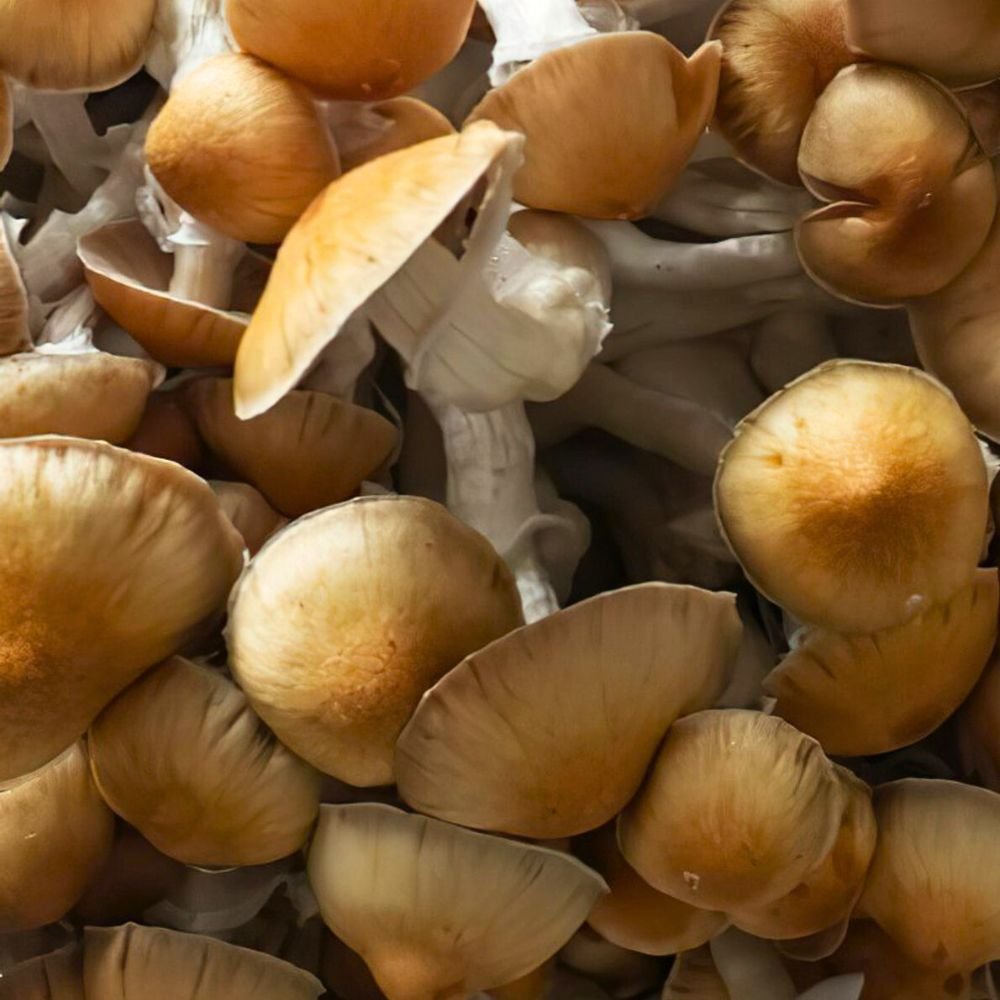
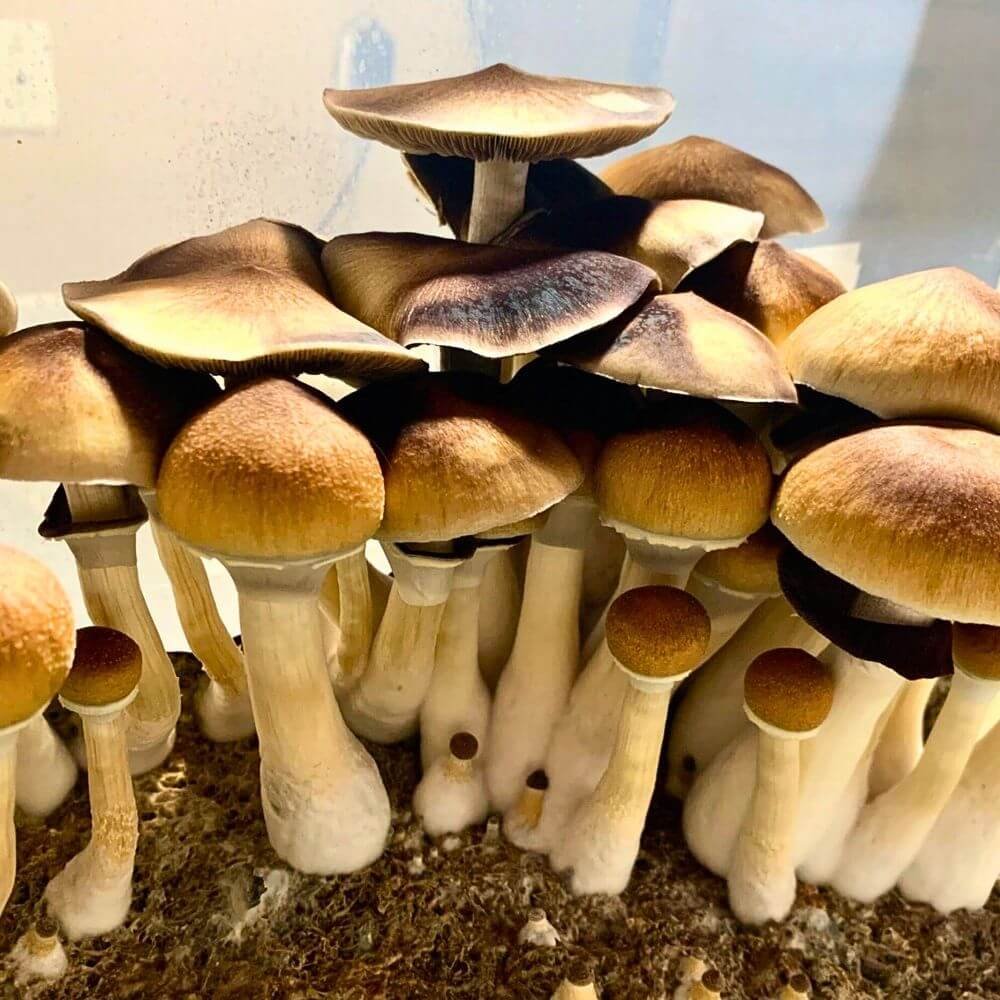
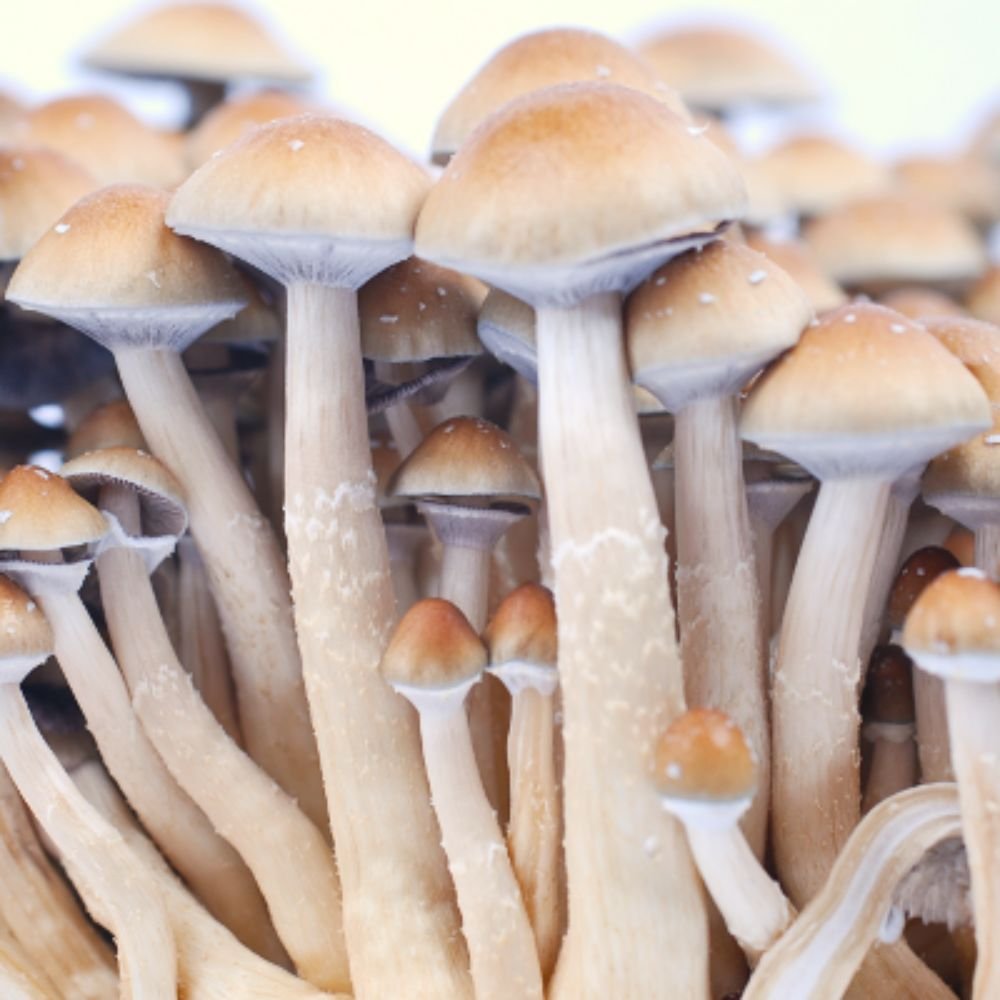
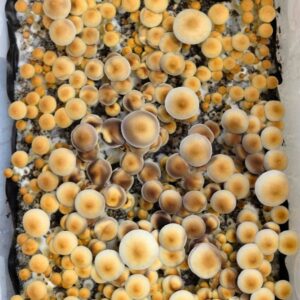
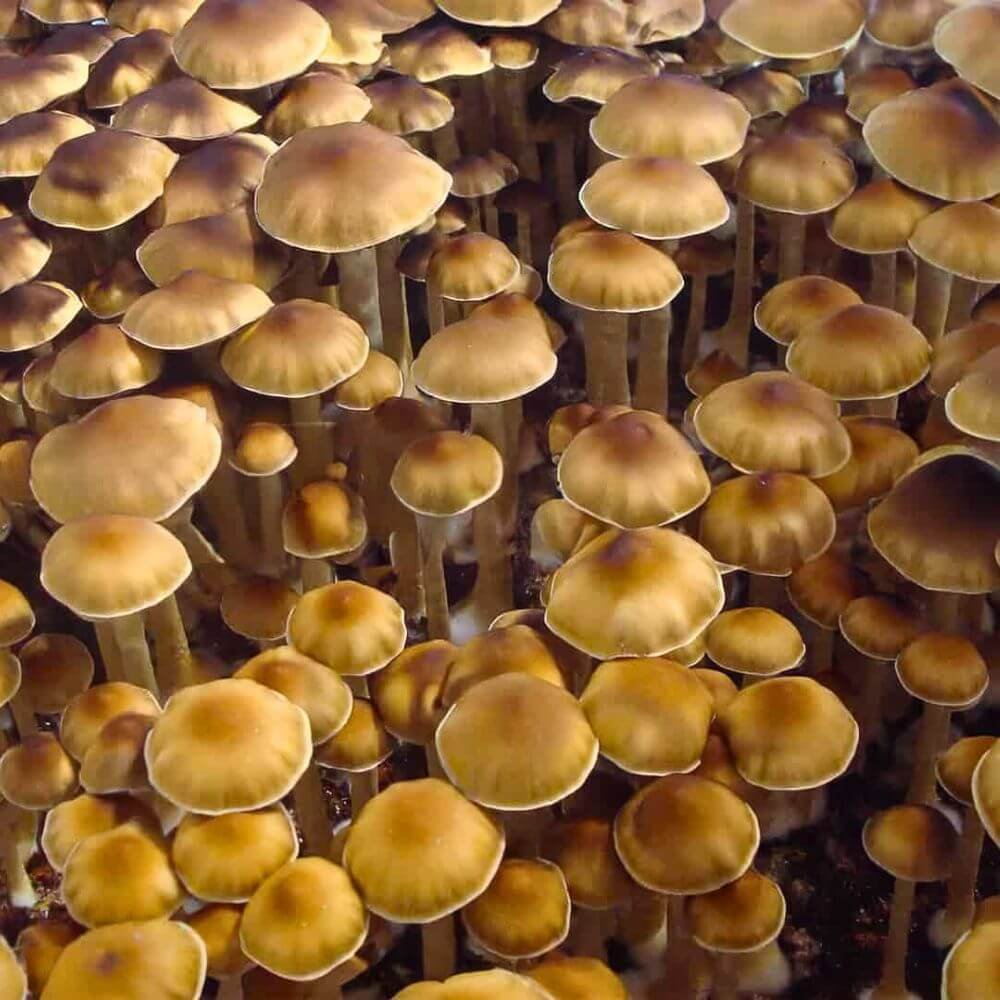
*Spores are intended for microscopy and taxonomy purposes only. Images are provided for informational and educational reference only and originate from cultivators and labs outside Canada.*
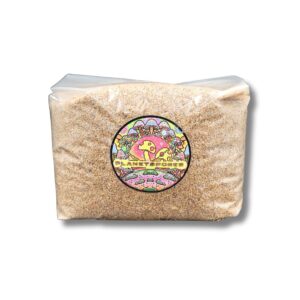
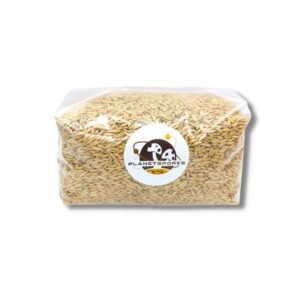
Clean your workspace, tools, injection areas, and yourself before beginning inoculation. Allow spore syringes to reach room temperature and shake them well before use. Inject the spore solution directly into the bulk of the sterilized mushroom grain spawn, then cover the hole made with tape, preferably micro pore tape.
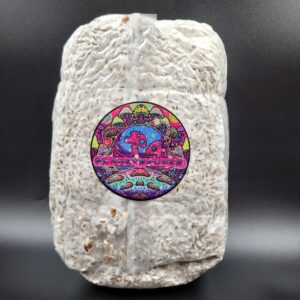
Place the newly inoculated grain spawn bags in a warm dark place in order to promote mycelium colonization of the grains for 7 to 28 days. Roughly half way through the colonization process you should notice medium sized balls of mycelium growing, break the balls up by squishing them from outside the bag and disperse them evenly throughout the bag. This will allow for a faster and full colonization. You will know the grain is colonized when it’s mostly covered in a thick web of white mycelium.
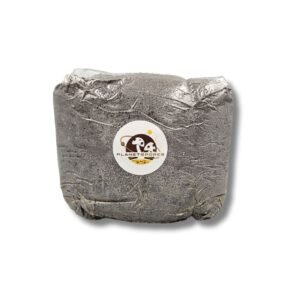
To hydrate the mushroom substrate properly it must be brought to field capacity. To test field capacity grab a handful of hydrated substrate and squeeze it together in both hands, a few drops of water should squeeze out. A strong flow of water when squeezing means it’s too wet, add substrate to the mix to counteract this. Little to no water droplets means the substrate is too dry, add water to counteract this.
The substrate must be pasteurized before moving on, pasteurization kills the harmful bacteria but keeps the beneficial microbes which promote healthy fungal growth. There are several at-home pasteurization methods that can be found online, here is a brief overview of two basic methods.
Bucket Method – Use any large sized bucket, you can find these for a few dollars at your local hardware store. Pour the substrate into the bucket, pour boiling water into the bucket and seal it off with the lid, allowing the steam to work its way through the substrate. When pouring the water be mindful of field capacity, it’s better to add less water than too much. Once the mixture has cooled, in a sterile environment and while wearing gloves begin adjusting the moisture level as described above, until you have reached field capacity. Once the mushroom substrate is hydrated correctly, it’s ready to be mixed with colonized mushroom grain spawn, proceed to step 4.
Oven Method – Preheat the oven to 170F – 200F. Bring the substrate just above field capacity. Why is it above? Because the substrate will lose some moisture in the oven due to evaporation. Next place the substrate onto an oven tray or turkey tin, cover the top of the tray with tinfoil. Allow the substrate to cook in the oven for 2 – 2.5 hours. Once the substrate is cooled it’s ready to be mixed with colonized mushroom grain spawn, proceed to step 4.
Mix the colonized grain spawn and hydrated substrate together to create the final mushroom fruiting medium. You can perform the mixing in a fruiting chamber of your choice. Mix the grain and substrate evenly and lightly tamp the surface. After mixing, seal off the mixture for incubation, achieve this by putting the lid on the tub or by sealing the bag with an impulse sealer or household clips.
Now that the mushroom fruiting medium is mixed, allow the white colonized mycelium grain to incubate the substrate for 7 to 10 days. The next step is everyone’s favorite: the fruiting phase. For a more detailed guide to creating fruiting chambers using bags and tubs checkout our fruiting in bags guide and our D.I.Y. mushroom fruiting chamber guide.
In order to induce fruiting in the mushroom spore grow kit, the environmental conditions must be changed.
Three variables to change:
Increase humidity by occasionally misting the sides of the fruiting chamber.
Increase fresh air exchange by opening the lid of the tub for 5 minutes a day and or by drilling filter holes filled with poly-fil in the side of the tub (see our fruiting chamber guide for more details on this). To increase fresh air exchange in fruiting bags, slightly open the top of the bag to allow for some air flow.
Increase light exposure by placing the mushroom fruiting chamber near indirect sunlight or run a 50/50 on off light cycle.
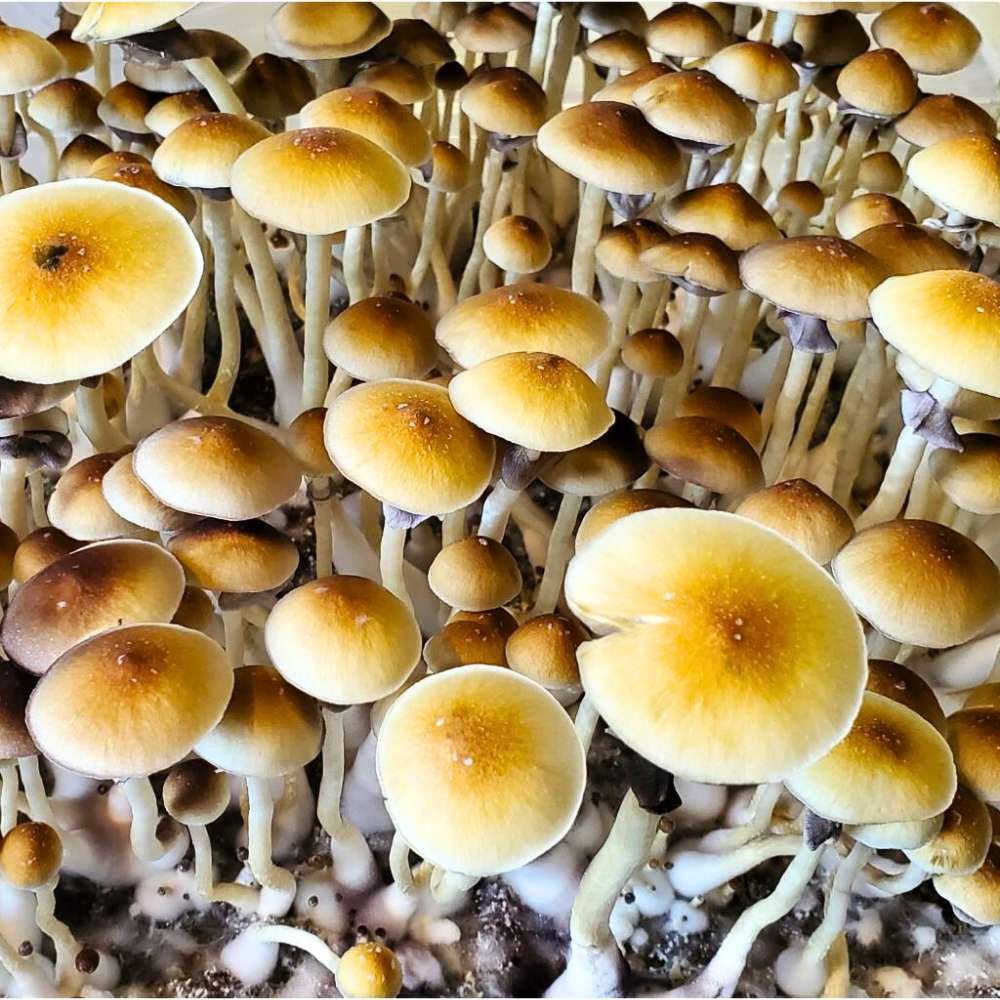
After about a week, baby mushrooms should start to appear, these are called mushroom pins. These pins will mature into fully grown mushrooms in 2-5 days and will be ready for harvest when the thin dark viel starts to separate from the cap of the mushroom.
When ready to harvest, gently reach into the fruiting chamber, carefully grab the mushroom stem near the bottom, then twist and pull to remove it from the fruiting substrate.
After harvesting all of the mushrooms, clean the interior of the fruiting chamber by wiping it down with isopropyl alcohol. Then put the lid on the tub or slightly close the fruiting bag again and leave the mushroom spore grow kit in fruiting conditions. After another week more mushrooms will begin to form.
Given good fruiting conditions and proper cultivation practices, you may repeat this process 3-4 times until the mycelium runs out of nutrients.
| Weight | 2000 g |
|---|---|
| Dimensions | 22 × 12 × 13 cm |
| 5 star | 81% | |
| 4 star | 0% | |
| 3 star | 9% | |
| 2 star | 9% | |
| 1 star | 0% |
Hello, the last time, before this order, i bought some spores and liquid culture from you, they didnt work, i am wondering if it was me or the spores.
Please let me know
Thanks
Chris
Hi Chris, we sent you any email, please let us know what’s going on.
I can only give a 3 as I injected the bags on the first day and haven’t seen any action in the bags at all yet
Great customer service. and fast shipping
Good Service and fast delivery they contacted me when something came up with the order and we had it fixed and shipped out soon after 9/11 would order again!
Everything came in a day earlier than the shipping date.
Everything was as expected very good. I’m happy with the order and pricing was very well priced.
well package and the mycelium is going great!
Quick delivery and packaged nicely
I’m really pleased with this kit here. Grain arrived sterilized and the spores are currently colonizing. I will be back for more spores in a few weeks, thanks guys.
Good spore and grain spawn combo at a discounted price. I purchased the Thai and Penis Envy spores. Both batches fruited nicely!